THE PICTURE, THE PRINT, THE FRAME
How to print
Gedolim pictures.
Turn a digital rabbi portrait or photograph into a thoughtful display. Start with the original file, check the crop, and approve a proof before ordering the finished print.
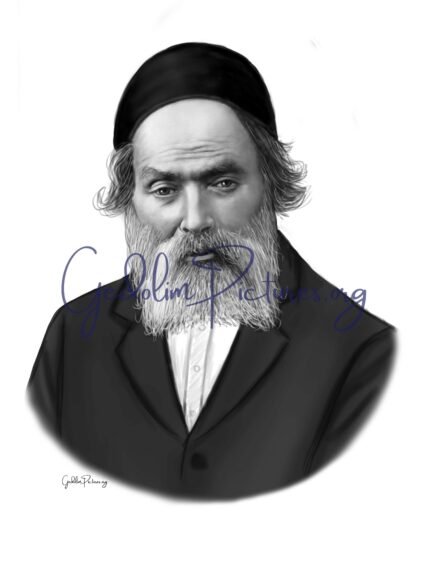
1. Start with the original download
Choose a subject and image style before choosing a frame. A drawn portrait and a photograph can feel different on a wall, so compare the previews and read the listing. Check the subject’s full name, especially when several rabbanim share a family name.
After checkout, retrieve the image from My downloads. Keep an untouched copy of that file. A screenshot, a messaging-app copy or a saved website preview may contain fewer pixels than the original and can look soft when enlarged.
GedolimPictures.org supplies digital downloads. Physical prints and frames are arranged separately. Before ordering, check that your intended use is covered by the picture’s permissions.
2. Match the file to the print size
Look up the file’s pixel width and height in its image information or properties. Ask your printer which dimensions and file format they need for the exact product you want. A file suitable for a small desk frame may be unsuitable for a large wall print.
For planning, 300 pixels per inch (PPI) gives the examples below. Multiply the printed width and height in inches by 300. These are calculation examples, not a promise that every download supports these sizes. Check the actual file after cropping and follow your printer’s requirements.
| Print size | Pixels needed |
|---|---|
| 5 × 7 inches | 1,500 × 2,100 |
| 8 × 10 inches | 2,400 × 3,000 |
| 11 × 14 inches | 3,300 × 4,200 |
Simply changing a file’s PPI setting does not add image detail. If the available pixels are too few, consider a smaller print or a border, and ask the printer to assess the original rather than relying on the preview on your phone.
3. Protect the portrait when cropping
Images and frames do not always have the same proportions. An 8 × 10 print has a different shape from a 5 × 7 print, so filling either frame can remove part of the image. Compare the printer’s “fit” and “fill” previews before placing an order.
Check the face, head covering, shoulders, signature and any lettering near the edge. Leave space for a frame or mount to overlap the print. For canvas, ask how much of the image wraps around the sides; a face or caption should not disappear around an edge.
If the crop feels too tight, choose a different print proportion or keep the full image inside a border. Inspect the final layout again after changing the size: the earlier preview may no longer apply.
4. Choose the finish and order a proof
Think about where the picture will hang, the light in that space and how close people will stand to it. Ask the printer for finish samples if glare or surface texture matters. A paper print behind glass, a canvas and a metal print can present the same image differently.
Screen brightness can hide dark areas or make colours appear lighter than they print. Before a large order, request a small test print using the intended paper or material where possible. Check the face, fine lines, shadows and lettering in the room where you plan to display it.
Confirm the finished dimensions, border, mounting and delivery arrangements with the supplier. Our printing and gift partners page offers starting points; the supplier sets its own product specifications and shipping coverage.
Questions before you print
Can I print a free download?
Free listings are intended for personal use. Review the listing and use the original downloaded file. Free availability does not itself grant permission to redistribute the image, sell printed copies or include it in a shared download pack.
What about a classroom or community display?
Ask about permissions before arranging school, community or commercial use. Include the picture link, intended display, number of copies and whether the digital file would be shared. Keep any written permission with your project records.
Which picture should I choose?
Begin with a rav whose Torah you learn or a figure connected to your family or community. Explore Litvishe, Chassidishe and Sephardi pictures, then compare the available portraits and photographs.